You are a professional coating contractor but you are only as good as two things: 1) The product you’re installing and 2) The surface you’re trying to be stuck to, & if you don’t have one of those it could be a bad deal.
I can take the best product made and put it on an unclean or unsuitable surface and it isn’t worth anything, but I can also take a drastically inferior coating and put it on a properly prepped and suitable substrate and more than likely make it last for quite some time as a repair.
In the coatings industry prep is everything.
Whether it is power washing and acid etching a metal roof or using a specified cleaner for an aged EPDM, TPO, mod-bit or aged coating, whatever you do to prep the surface is key.
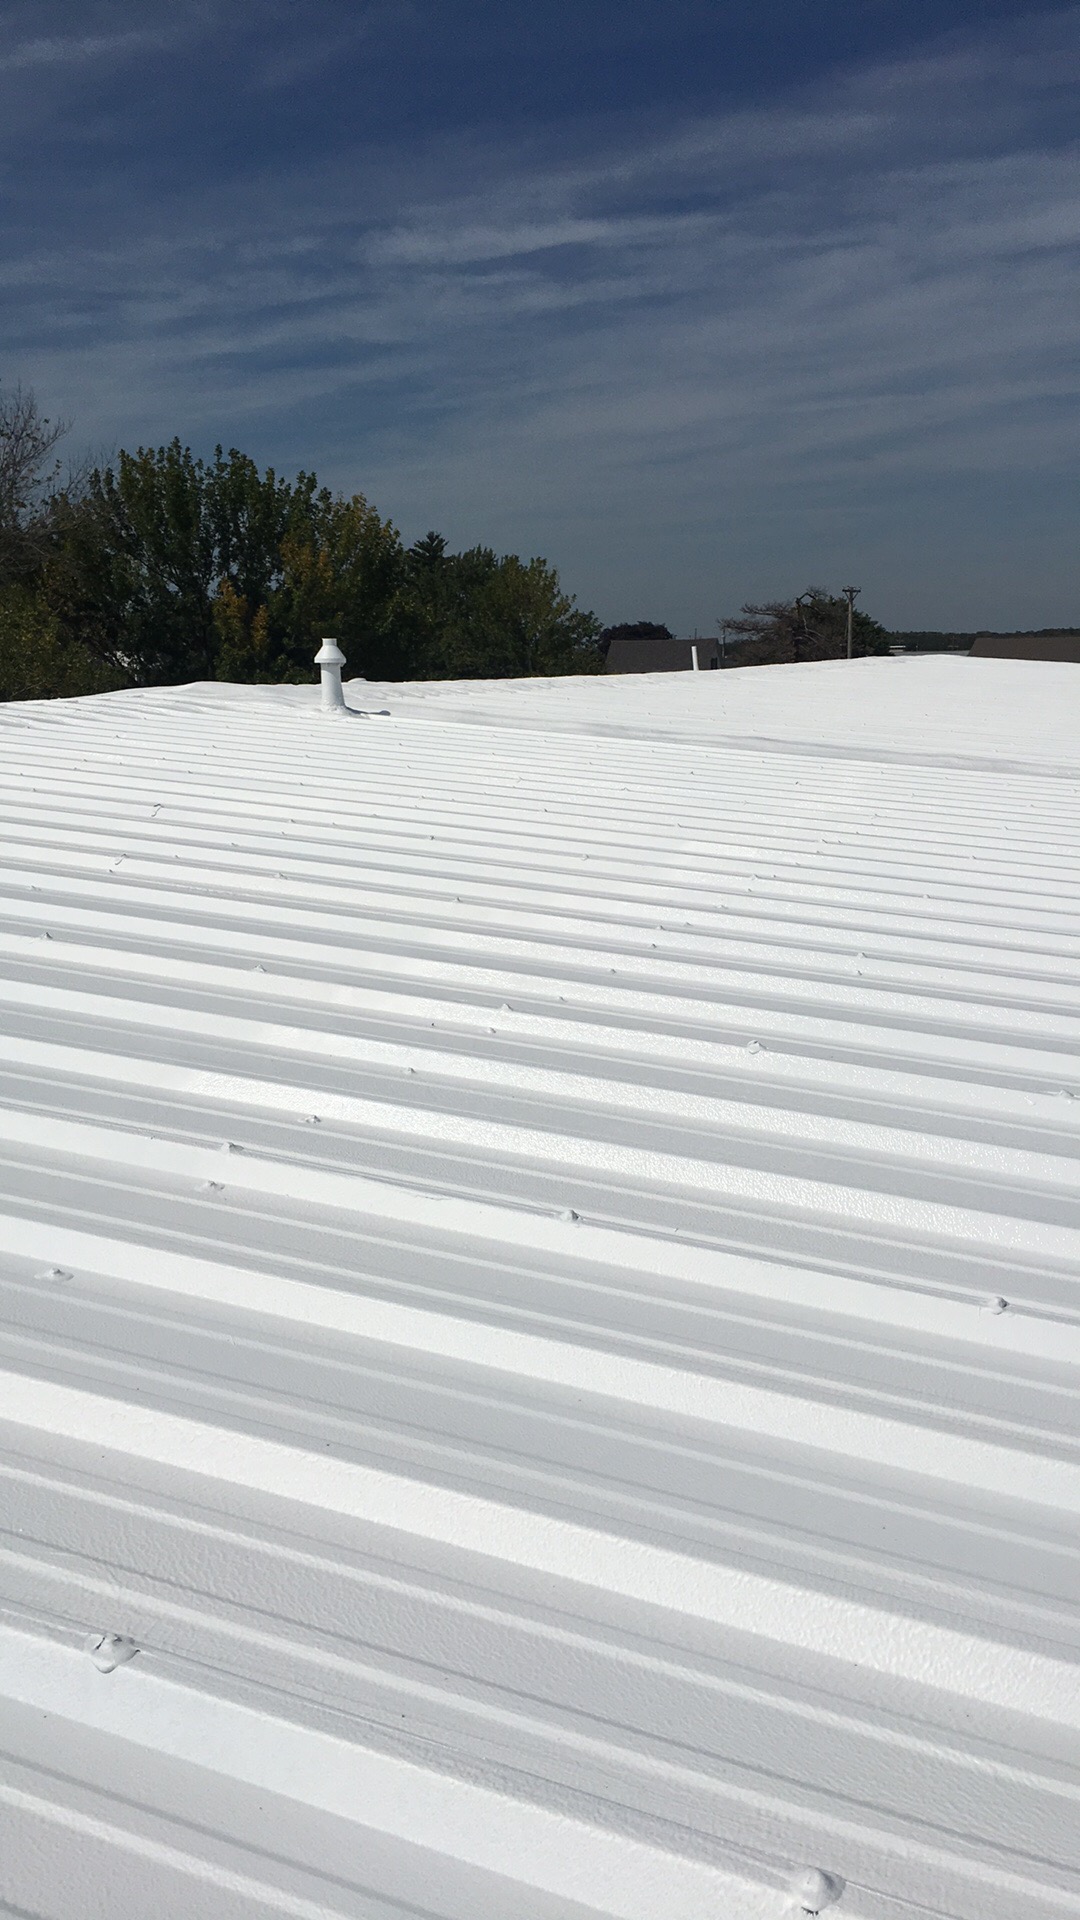
Metal & flat roofs are commonly plagued with oxidation, rooftop oil’s, and other contaminants that can cause a quality Fluid Applied system from adhering properly. On the single ply restoration front, key components to good adhesion are using enough pressure washer force (psi) & gala of blasting media (aka water) to clear the dirt, grime & oxidization from the surface, whether it be the carbon buildup on an EPDM or the oxidized factory applied surface coating used on TPO or PVC membranes.
Now don’t get me wrong, I’m not expecting you to power wash entire roof just to do a couple pull test, but care does need to be taken for the areas that you are doing a pull test to be treated as if you were doing a full on restoration project.
Once the specified cleaner has been used at least in a 1 x 1‘ area and allowed to dry, then you would use your specified primer for whatever system you are entertaining. We will use a factory finish metal roof for an example. Once we have cleaned our specified area and installed our primer we will allow the primer to cure out the allotted time needed prior to doing the actual pull test.
Once the primer has cured, typically primers at the low milk thickness will cure out in a matter of an hour or 2, we will apply our coatings at the specified gal/sq rates from the manufacturer. Once you have installed the initial layer of coatings you would take a piece of fabric 1 inch wide and embed that into the coatings leaving a 3-4 inch tag end not installed into the coatings.
We would then apply additional coatings over the fabric, fully encapsulating it into coatings. Giving this test or multiple tests on a given roof an ample dry time, typically 3 to 4 days in the summer season, we will then come back and perform the actual pull test.
To perform the pull test you will take a razor blade and make an incision down the side of your fabric on both sides, leaving you with two incisions 1 inch apart the length of the fabric.
Now cut a small incision into your fabric’s loose tag end, and approximately 1 to 1 1/2 inches from the end. This will be the hole that you will hook your digital scale to test the amount of pounds per square inch it takes to remove the fabric. Care must be taken when pulling the fabric off of the substrate. You want to pull in a perpendicular manner to the substrate, so in this case we would apply vertical pressure, keeping the tag end at a 90° angle to the roofing substrate.
While pulling with a constant tension against the fabric, we will record the pounds of pull that it takes for failure. Typically any number above 3 pounds per square inch is considered adequate adhesion for a substrate. The reasoning by using a 1 inch wide piece of fabric is for easy calculating of pounds per square inch. If the fabric you are using is say 2 1/2 inches wide then you would have to multiply the pounds per square inch of pull times 2.5 to make sure it’s adequate (2.5×3).
Doing this allows you to know that you are applying your fluid applied system to a substrate that you will be adhered to long term as well as it buys you protection from possible warranty claims. If a manufacture tries to push off a potential warranty claim issue onto you claiming of you not doing your due diligence, you can potentially save yourself by showing that you did pull test prior to install & they passed.
Another key thing to do when performing your adhesion test is to take them from random areas and do at least two areas on the existing substrate that would be considered the poorest quality adhesion areas, typically in low lying or ponded water areas.
This is one of those times in life that to get out of a potential sticky situation later, you want to make sure you’re stuck first.
Chad Hedrick, Roof Coating Life
“We Bleed White”
Chad Hedrick, owner of Roof Coating Life commits to helping 10 new Contractors succeed in the Fluid Applied Industry each year. He’s selective in this process because realistically, his time is limited. He offers his valuable time and best mentor ship to the guys who are serious about making 30%-50% profits with Roof Coatings. Check out the Requirements for working with Chad to see if you might qualify.


